
In an Event, go to Reports > Forms > Sign-in Sheet - Custom
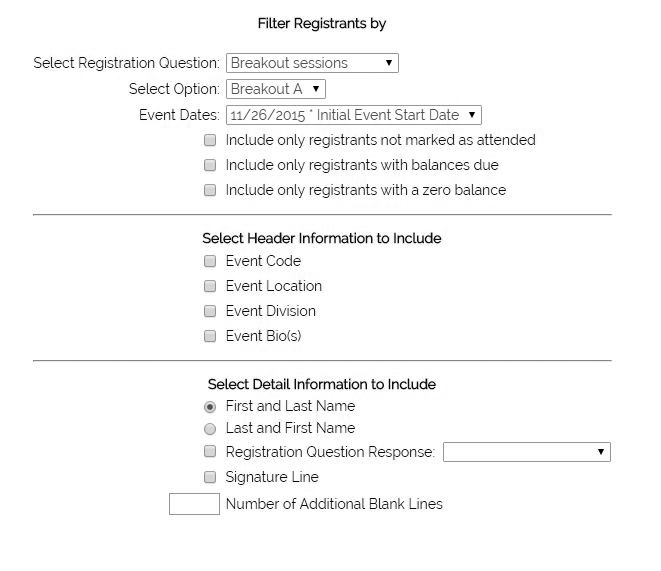
- If you are using a registration question, e.g. for breakout sessions, choose the appropriate question and response. {Display All Registrants} will return all confirmed registrants.
- If the event has multiple dates, choose the appropriate date. Multiple dates can be created in Event Setup > General.
- You can filter the list by attendance or payment, or leave those boxes unchecked to list everyone who chose the selected option.
- If you are using any of the Event Code, Location, Division or Bio (Instructor) options, you can add those to your sign-in sheet header.
- Choose detail information, such as first name first, or last name first.
- Click "Create Form".
Using the Advanced Custom Sign-in Sheet
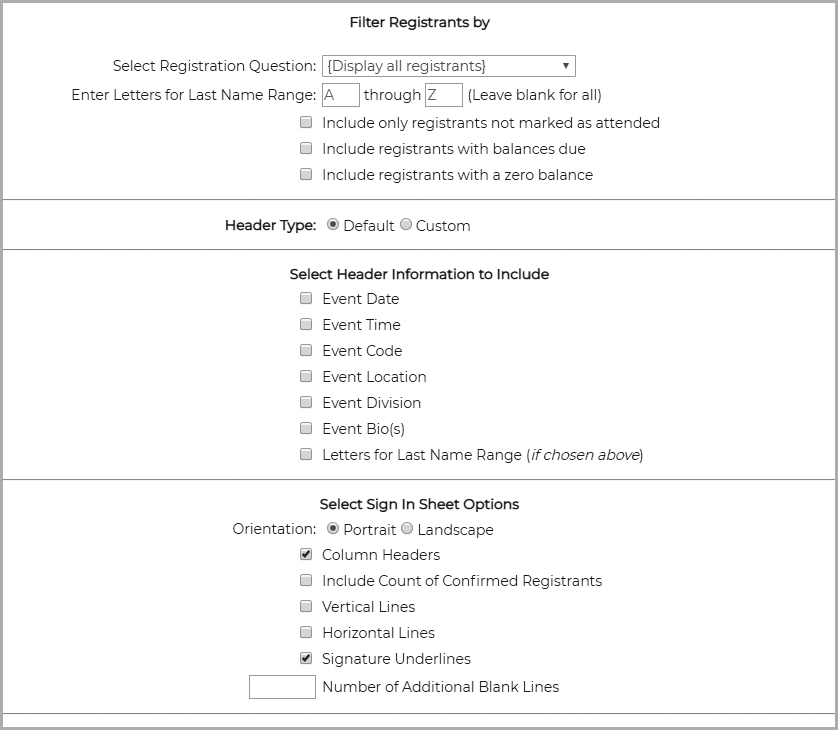
- In an Event, go to Reports > Forms > Sign-in Sheet - Advanced Custom
- Select the desired criteria in the top portion of the filter selection
- Click Create Form to see the Sign-in Sheet
- You can even Save this as a Template to quickly use in the future.
In the General section, you will see the option to add Extra Columns to your sign-in sheet and re-label the column header.
Modify how the sign-in sheet looks with a host of options by adding extra columns.
Drag options from the General, Registration Question Responses, Database Question Responses sections to the area 'Include The Following Columns'.
You can change the layout of the sign-in sheets by adding, deleting or dragging the columns left/right in the 'Include The Following Columns' widget.
Comments
0 comments
Article is closed for comments.